-
Passkeys for Small Business: What They Are & When to Use Them
Passkeys offer a new way to sign in, promising better security and convenience. This guide explains how passkeys work, their current uses for small…
-

M365 Shared Mailbox Permissions: Who Can Access What?
Managing shared email access in Microsoft 365 can be confusing. This guide clarifies membership, ‘Send As,’ ‘Send on Behalf,’ and delegate roles for your…
-

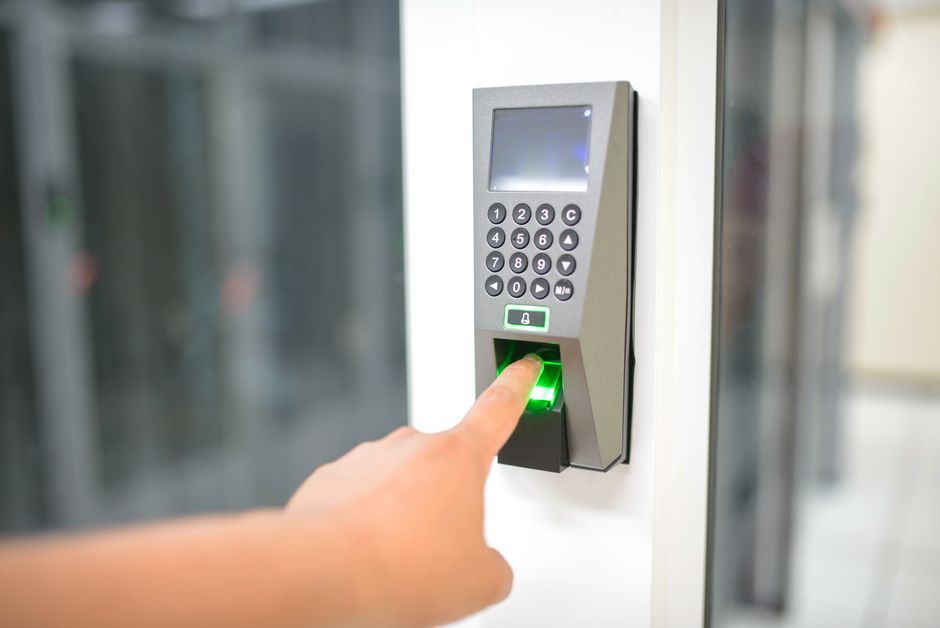
Two-Factor Authentication: A Must for Small Business Security
Securing your business accounts is critical. This guide explains why two-factor authentication (2FA) is a necessary step, outlines various methods, and…
What are you trying to fix?
I think we got phished
I’m not sure our backups actually work
Office Wi-Fi is slow or keeps dropping
An employee is leaving, lock them out everywhere
Our emails keep landing in spam
Windows updates are stuck or breaking something
Latest Answers
-
Microsoft 365 Custom Branding: Strengthening Login Security
-
Microsoft 365 Admin Center: New Tenant Essential Setup
-
Cloud Phone Systems vs. Landlines: Small Office Verdict
-
Cloud Backup Services for Small Business: 2026 Picks
-
Cyber Insurance IT Requirements: Renew Smarter
-
Simple BYOD Policy for Small Business & Non-Profits
-
Top VPNs for Small Business Remote Work 2026
-
Best Secure Remote Access for Small Business
-
Endpoint Security for Nonprofits: Top Picks & What to Know